How to Build a Safe Home Hacking Lab with Virtual Machines

A virtual machine makes a promise a physical test box cannot: whatever you break, you can rewind. That promise only holds if the lab is wired correctly. One bridged adapter or one shared folder can put a deliberately vulnerable machine on the same network as your router, your laptop, and everyone else in the house. The setup below takes an evening, costs nothing beyond hardware you already own, and gives you a repeatable place to practice offense and defense.
Check your hardware and pick one hypervisor
Three specs decide how much lab you can run. Memory is the usual limit: each VM wants 2–4 GB, so 16 GB of host RAM is comfortable, and 8 GB works if you run one attacker and one target at a time. Storage should be an SSD with 60–100 GB free — snapshots on a spinning disk are slow enough that you will quietly stop taking them. And CPU virtualization (Intel VT-x or AMD-V) has to be enabled in your firmware; on Windows, Task Manager under Performance > CPU tells you whether it is.
For the hypervisor itself, VirtualBox is the easiest starting point and most tutorials use its menu names. VMware Workstation Player, Hyper-V, and KVM with virt-manager all work well. Pick one and stay there. On Windows, mixing Hyper-V with VirtualBox causes conflicts that cost more time than the extra feature is worth.
Design the network before the first boot
A VM's network adapter has three useful modes, and the difference between them matters more than any other setting in this guide.
- NAT — the VM reaches the internet through your host. Good for updates, but it can also reach your router's admin page and every device on your LAN.
- Bridged — the VM gets an address from your home router and appears as another device on the network. Convenient, and the most common source of accidents. Never use it for a vulnerable target.
- Host-only — a private virtual switch visible only to your host and the VMs attached to it. This is where lab traffic belongs.
Plan addresses before you install anything. A host-only network on 192.168.56.0/24, with your attacker at .10 and targets at .20, .21 and .22, keeps things readable months later. When a VM needs updates, add a second NAT adapter, patch it, then disconnect that adapter again. Most vulnerable targets should never be updated at all — their age is the point.
Build the attacker, then add targets
Install the attacker first so you have something to test connectivity from. Kali Linux is the default choice; Parrot OS is a close alternative. Grab the prebuilt VirtualBox or VMware image rather than the installer ISO — it saves an afternoon of driver wrangling.
For targets, start with machines that are designed to be broken:
- Metasploitable2 — an intentionally misconfigured Linux VM with dozens of open services.
- DVWA and OWASP Juice Shop — web applications with deliberate flaws, ideal for SQL injection and cross-site scripting practice.
- VulnHub — downloadable images from beginner to hard, each with its own backstory.
- TryHackMe and HackTheBox — browser-based ranges when you want a guided path instead of your own setup.
Verify checksums on anything you download; a corrupted image produces boot errors that look exactly like configuration mistakes. After the attacker's first boot, update it fully, then snapshot it. Leave the targets as shipped.
Snapshots, and how not to abuse them
A snapshot captures a VM's disk and memory state at a moment in time. Take one before every risky step, and name it something you will understand next week: clean-kali, pre-exploit, shell-obtained. Reverting takes seconds. Rebuilding a target you wrecked takes an hour.
Two habits keep snapshots useful. Keep only three to five per VM — each one grows as the machine writes data, and a stack of twenty slows every boot. And remember that snapshots are not backups: they live inside the same virtual disk set. If you want a permanent fork you can keep, use a full clone instead.
Seal the lab off
Isolation is a handful of settings, and skipping any one of them undoes the rest.
- Host-only adapters on every vulnerable machine, no exceptions.
- Disable shared folders, clipboard sharing, and drag-and-drop for target VMs.
- Leave the host firewall on, and do not bridge or route between the host-only network and your home LAN.
- Do not run live malware samples on your daily machine. Hypervisors leak; use a separate physical host for that work.
The legal line
Only test systems you own or have written permission to test.
That is not a formality. Port scanning a network you do not own is a criminal offence in many jurisdictions, and your ISP notices. If you are unsure whether a target is fair game, get permission in writing or choose something else. For anything with real legal consequences, speak to a qualified professional.
A practice loop that actually builds skill
Booting a lab is not practice. A repeatable loop is.
- Pick one target and one concrete goal — "get a shell as www-data", not "hack it".
- Revert to the clean snapshot.
- Enumerate properly: run nmap -sV -p- against the target's host-only address, then look at each open service.
- Form a hypothesis about the weakest service before you reach for a tool.
- Exploit it, pasting every command into notes as you go.
- Practice post-exploitation: privilege escalation, credential hunting, and what an attacker does next.
- Write down what worked and what wasted time, then revert. Tomorrow starts clean.
Ninety focused minutes, a few times a week, beats a ten-hour weekend session. The notes are the part people skip and the part that compounds.
Keep it small
Two VMs are enough for the first month: one attacker, one target. When that feels routine, add a Windows target, a firewall VM such as pfSense for segmentation practice, or a second subnet to pivot between. Add one piece at a time, and snapshot before each change. The whole point of the lab is breaking things without consequences — so break them, then rewind.
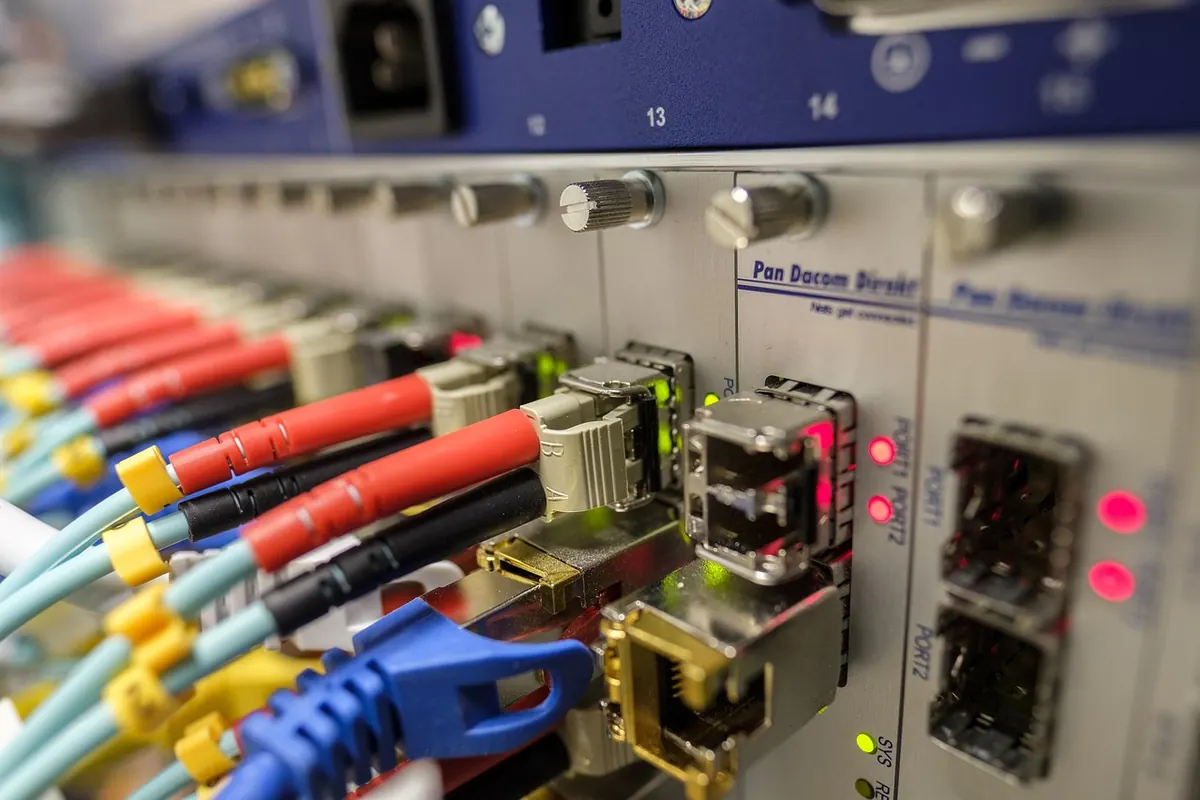
Photo: LUM3N / Pixabay